The Starfield Revelation mission closes out the campaign. Since this is the last quest, you need to be ready for an epic fight (or not). Naturally, our guide will help you along the way. Likewise, please be reminded that this article contains spoilers.
How to complete the Revelation mission in Starfield
The Starfield Revelation mission takes place after the Entangled dilemma on Freya III. You have all the artifacts, save for those held by your two Starborn rivals. Moreover, your decision at the end of Unearthed–i.e. side with the Hunter or Emissary–will affect how the Revelation mission turns out.
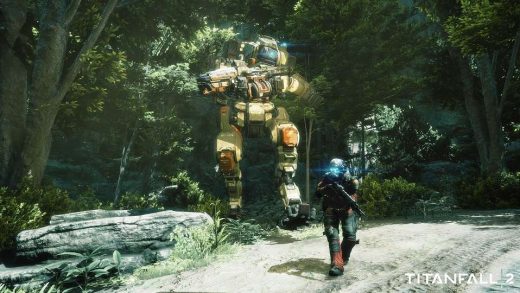
The battle above Masada III
To begin the Starfield Revelation mission, you need to fly to Masada III in the Masada system, which is in the southeastern tip of the galaxy. Be ready as soon as you spawn in, because the Starborn are waiting for you:
- If you sided with either the Hunter or the Emissary, then they’ll assist you against their rival’s forces.
- If you sided with neither, you’ll have to face them both, as well as their cohorts. The two key Starborn characters will escape once their ships are heavily damaged.

The first encounter: Loading Docks
Upon landing in the Ecliptic Base, you’ll see a lot of dead mercenaries. If you chose a Starborn ally at the end of Unearthed, they’ll also greet you here, and they’ll join as an NPC squadmate.
Then, as you make your way to the Loading Docks area, several Starborn will appear. You can use the barriers and walls to avoid projectiles, though you still need to take out your opponents. Shortly thereafter, you’ll reach an open area with more dead mercs. However, a Starborn will revive several of them.
The goal here is to eliminate every Ecliptic merc that you see. That’s because the Starborn will continuously reanimate corpses until they’re the only one left standing. Once you’ve killed them, they’ll drop a key that leads to the next area.

The second encounter: Robot Room
The next battle takes place in a large chamber that has numerous robo sentries, robo dogs, and turrets. There are two Starborn here as well. Funnily enough, we thought that this was the easiest encounter in the Starfield Revelation mission. That’s because you can quickly run to the control room in the center, unlock the door with a digipick, and hack the terminal to change the friend/foe settings. In doing so, all the machines will attack the Starborn instead, making for a rather quick and uneventful fight.

Visions
As you proceed deeper into the facility, you’ll have to pass through ripples/distortions in the area. These will give you a glimpse into past events that have transpired, except it seems that they take place in alternate universes. For instance, remember the part in A High Price to Pay when one of your companions died? It now shows your character dying, which led to your companion (i.e. the one with the highest affinity) journeying onward to become the Emissary.
Also, it seems that it’s possible to fight and kill Vladimir Sall here. This lets you claim his outfit–it takes place in another reality, so the Vladimir Sall in your world probably won’t mind.

The third encounter: The Cave
The penultimate encounter takes place in a gargantuan cavern. There’s only one Starborn here, but they’ve got backup: multiple copies of every Constellation companion. This is the toughest battle so far since every hostile is wielding a firearm, and you can’t avoid every bullet or laser beam.
We suggest running ahead first to get a bead on the Starborn. Once you spot your target, pepper them with everything you have. If you find yourself taking a lot of damage, use a medpack and get to cover, then continue attacking the Starborn. Once the entity dies, the other mirror images will disappear, too.

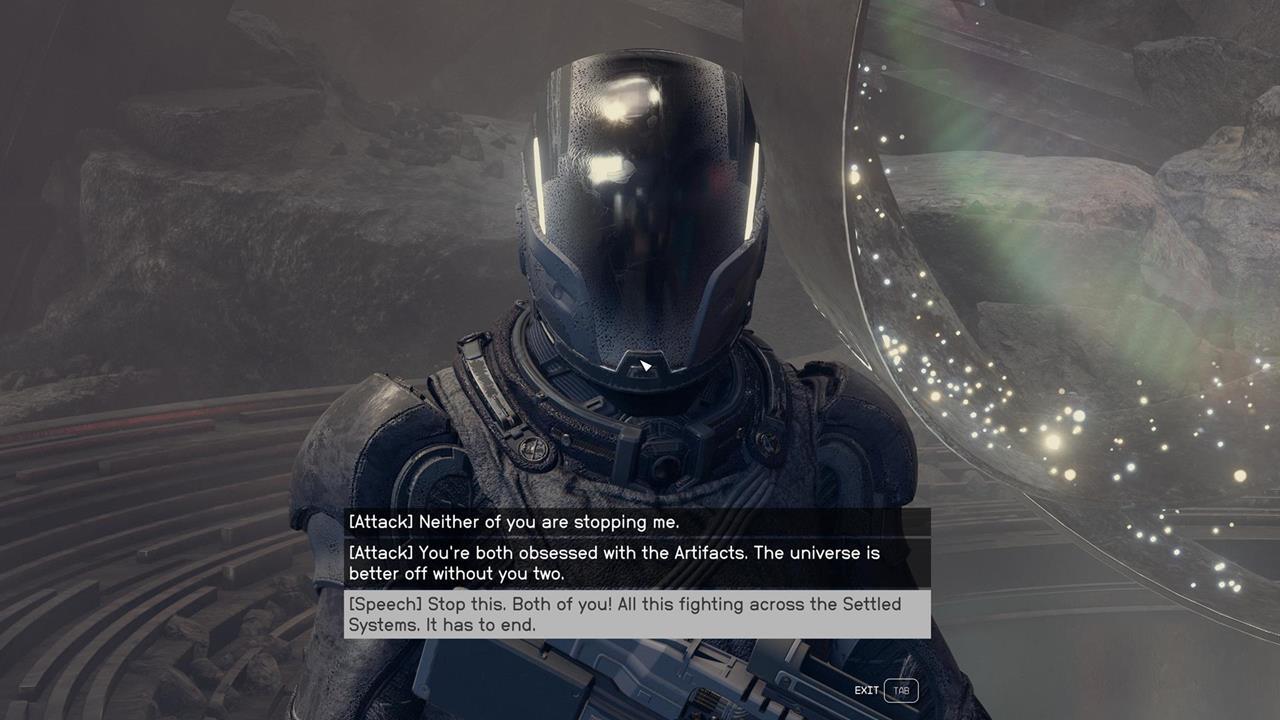
Boss fight: Starborn Skip or Starborn Showdown
Enter Temple Mu to conclude the Starfield Revelation mission. Inside, you’ll have a chat with the Hunter and the Emissary. You’re given the following choices:
- Attack — You’ll have to fight the Starborn that you didn’t side with, or both of them if you refused their offers in Unearthed.
- Persuade — This is why we feel that Persuasion is one of the best skills in the game. You can convince your opponent(s) to stand down. This action requires eight points (i.e. pips), but you should have a high success rate if you’ve ranked up the skill. You can also consume Hippolyta (from the Aid section in your inventory) to improve your odds.
If you manage to convince the Starborn to stop the infighting, they’ll hand you their artifacts. You can then pick up Artifact Mu from the pedestal to complete your collection. The only downside here is that you won’t be able to obtain their unique legendary weapons, not unless you attack them or use console commands.
Of course, you could always opt for a bit of violence in the Starfield Revelation mission. If you want to defeat the Hunter and/or the Emissary in Starfield, then you better be ready for an epic final battle. Here’s what you need to know:
- The two Starborn will use an assortment of powers. Expect everything from Solar Flare and Gravity Well, to Parallel Self mirror images and the Gravity Wave Fus Ro Dah ability.
- If you allied with either Starborn, then they’ll also assist you and they’ll continue using their abilities. For instance, we know that the Emissary loves using Sunless Space in an attempt to freeze targets.
- You’ll also experience constant shifts as you damage your opponent/s. These will take you to places that you’ve visited before, except in alternate dimensions. Here are some examples:
- The Lodge in New Atlantis, where Constellation members suddenly turn hostile because they have no clue who you are and why two mysterious folks suddenly appeared.
- The NASA Landmark, both in the zero-G chamber and in the gallery.
- The Well in New Atlantis and the Astral Lounge in Neon, which causes civilians running for their lives.
Gallery
The battle will reach its climax as everyone returns to Temple Mu. Once your target(s) is/are eliminated, you can grab their artifacts, as well as their respective armaments, which we automatically consider as two of the best weapons in the game. That just makes sense given that the campaign is over.
- The Hunter drops Unmitigated Violence, a legendary laser rifle.
- The Emissary drops Eternity’s Gate, a legendary particle beam rifle.
- We’ve also seen the Emissary drop three Starborn Spacesuit Gravitas outfits, but this was with the use of console commands to remove the NPCs essential tag.
That’s everything you need to know about how to complete the Revelation final mission in Starfield. Now that the deed is done, it’s time to look forward to the endings, as well as New Game Plus.
Starfield is a massive game with numerous planets to explore. For other tips and tactics, you can visit our guides hub.
The products discussed here were independently chosen by our editors.
GameSpot may get a share of the revenue if you buy anything featured on our site.