The new Destiny 2 expansion, Lightfall, is here, and as was introduced with last year’s Witch Queen DLC, its campaign comes in two flavors: Classic and Legendary. Classic is the standard difficulty of all previous Destiny campaigns, which is to say, it’s not especially challenging for veteran players. Legendary is meant to punch you in the face, ramping up the difficulty to put it on par with some of the game’s harder content. Sure enough, Lightfall’s Legendary campaign is quite difficult and likely not something you’ll want to jump into as a novice player, as you’ll need skills and equipment you might not yet possess. But if you are taking it on, here’s what you need to know about how it works and some tips on how to best survive.
What’s different about the Legendary campaign?
Lightfall’s Legendary campaign missions each carry the same modifiers, all of which are meant to make things much more difficult:
Legendary: Enemies are more aggressive, have heavier shields, and are more plentiful.
Chaff: Your radar is disabled, leaving you vulnerable to being flanked.
Galvanized: Combatants both have more health and are harder (but not impossible) to stun. That takes away one means of dealing with aggressive enemies, as you’re less likely to leave one reeling so that you can take out another.
Multiplicity: As additional players join your fireteam (up to a total of three players, including you), the difficulty of enemies will increase further, requiring more shots to take them down. More notably, you have a cap on revives, so you can’t just rely on being able to respawn repeatedly in Darkness Zones. You also have a limited time to respawn an ally in those circumstances; if you don’t do so in time, you’ll wipe. That includes situations where you have run out of revives–you’ll need to either finish the encounter quickly or wipe.
Mettle: Your Power level is capped at a particular number, always putting you at a relative disadvantage versus the opposition. This is the one modifier to change across the eight campaign missions, as the specific cap will increase from 1610 up to 1750 as you advance further in the story.
All of this adds up to an experience that is quite unlike the more casual experience of playing through strikes or older campaigns, so be prepared to encounter a lot more resistance. Checkpoints are available throughout missions, allowing you to leave a mission and come back without losing progress–something you may want to do if you find yourself raging through a particularly hard fight.
Is playing Legendary worth it?
Certainly, Legendary is the way to go if you’re a glutton for punishment, but there are some very good rewards for playing it. You’ll get twice as many rewards following big fights, letting you get your hands on new gear (and raising your Power level) more quickly. Completing the entire campaign on Legendary will net you a complete set of 1770 Power level gear, making it a fast route to get to that point, and putting you in a better position to be raid-ready. You’ll get eight upgrade modules, too, which are easy to come by but ensure you can immediately infuse those 1770 pieces into the gear of your choice.
You’ll also receive the choice of two pieces of new Exotic armor for your class, which–if Witch Queen is any indication–you can otherwise only obtain by doing solo Legend Lost Sectors. And there are some other rewards, such as Strand Meditations, which you can earn in a variety of ways, but this gives you a headstart on unlocking more customization options for the new Strand subclass.
Beyond that, there are the associated Triumphs for having completed the campaign on Legendary and bragging rights.
Legendary campaign rewards:
- New Exotic armor
- 1770 Power gear bundle
- 8 upgrade modules
- 300 Strand Meditations
Legendary campaign tips
Ensure you’re at the mission’s level cap
As noted above, the Mettle modifer places a cap on your Power level for each mission. That means there’s no need to go overboard infusing every item and thus wasting upgrade modules, because a Power level above the mission’s cap will net you no bonus. However, it’s critical that you at least be at that Power level cap. You’re facing numerous disadvantages, and fights are going to be tough, so you don’t want to be compounding that any further by being even more underleveled than the campaign intends for you to be.
Go Solar
Although aspects of the subclass may have been nerfed, Solar’s ability to heal you is invaluable on Legendary. As such, you should pick your Solar subclass and design your mods and Exotic choices accordingly. The new Strand subclass isn’t fully unlocked until after finishing the campaign, though you will use it at times during missions. But you’ll still be relying on your choice of four existing subclasses, and Solar is an easy choice.
Pick the right Exotic
You’ll want an Exotic that leans into your Solar healing capabilities.
Warlock: Starfire Protocol — This gives you a second Fusion grenade charge and causes kills with those grenades to refill your Rift energy, in turn offering more frequent healing.
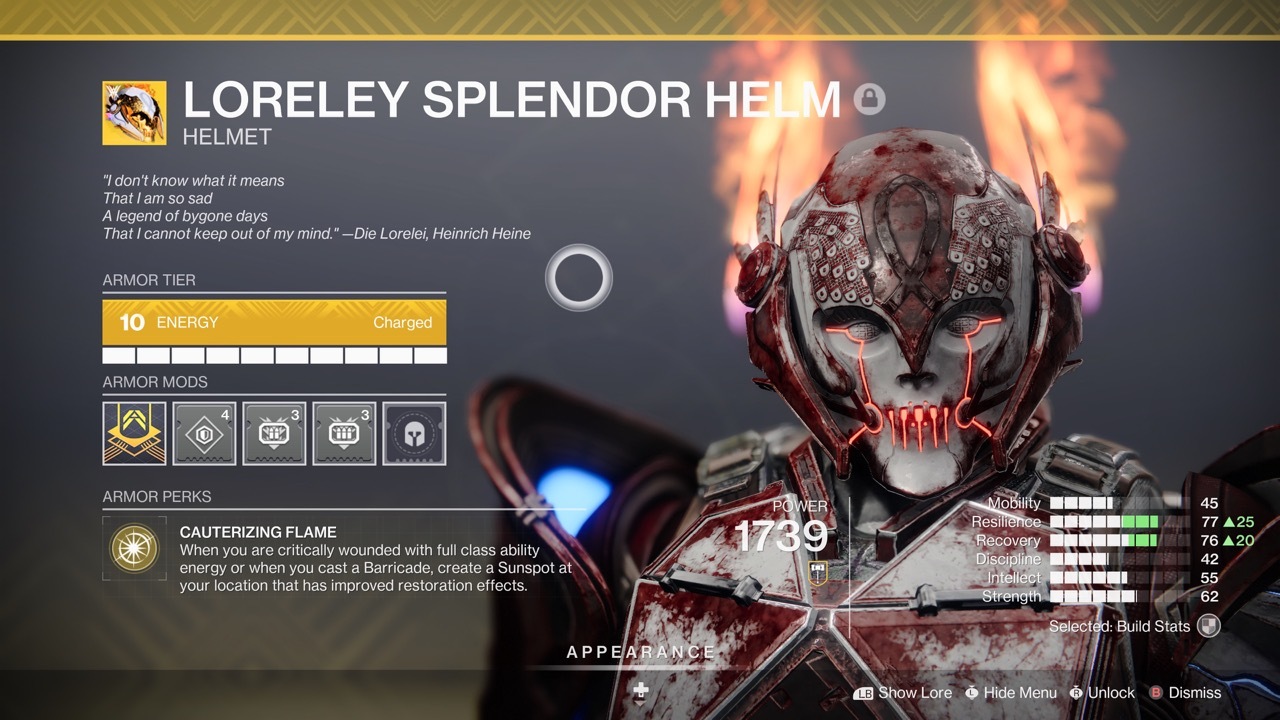
Titan: Loreley Splendor Helm — This is an absolute life-saver. Whenever you cast Barricade or are critically wounded (and have full class ability energy), you create a Sunspot with improved healing.
Hunter: Star-Eater Scales — Orbs of Power grant you additional Super energy, letting you gain it more quickly. If your Super energy is full, picking up Orbs overcharges your Super so that when it’s activated, you are healed and deal bonus Super damage (and you get an overshield if the overcharge is at maximum).
It’s important to note that, in the case of Loreley, this effect kicks in even during those times when the mission allows you to equip Strand. This proves to be critical in fights like the last boss encounter, as you’ll still be able to get this healing boost.
Set up your armor mods
Armor mods can make Legendary much more doable thanks to the various advantages they grant. I leaned into maximizing my Resilience and Recovery and equipping Heavy Ammo Finder and Special Ammo Finder in my helm to ensure I was rarely left with only my primary weapon. The Ashes to Assets helmet mod is also useful by granting Super energy when you get grenade kills, allowing you to more frequently use your Super, which can make all the difference in some of these long, drawn-out encounters where you aren’t forced to use Strand.
But don’t be afraid to experiment to see what works for you. Also be aware of using mods meant to benefit fireteam members–there’s no point in wasting your energy on those if you’re playing solo.
Grab a wave-frame grenade launcher
For the vast majority of the campaign, I found a wave-frame grenade launcher in my energy weapon slot to be massively helpful, thanks to its ability to break through shields and deal with numerous enemies in one shot. Rather than causing an explosion in a small area, a wave-frame grenade launcher shoots out a line of damage along the ground starting from the position it impacts. That means you don’t need enemies to clump together to be effective; you can just fire it in a line and take out a bunch of them in one go, and without aiming carefully–all you’re really doing is aiming on a horizontal axis.
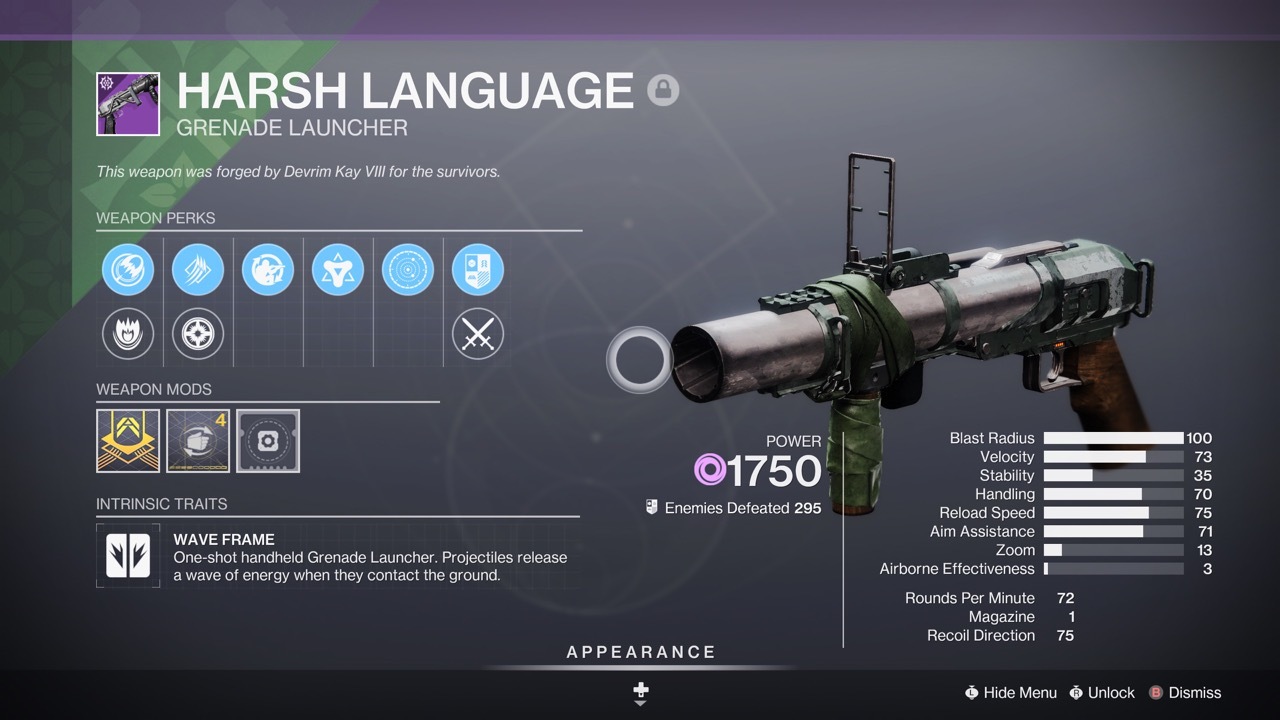
Early on, I got the new Harsh Language grenade launcher and let it carry me up until the final boss fight; being Void helped with the many Void-shielded enemies you encounter, and its Field-Tested origin trait means its range, stability, handling, and reloading speed all increase as you kill enemies or deal damage with it. That makes it ideal for repeatedly firing at groups of enemies, or using it to pick away at the health of an enemy like a Tormentor and dealing with any stragglers who might get caught in the blast.
Don’t consider co-op to be Easy mode
This is noted above but bears repeating: Co-op comes with its disadvantages. If you have a partner who dies, you’ll need to revive them quickly, and when you use up that revive, an additional death by that player might spell doom, as a clock will start ticking for you to finish the encounter. Enemies themselves also become more difficult. Playing solo, I felt like I could effectively deal with Tormentors reasonably well, but shifting to co-op meant needing to land multiple precision hits with a linear fusion rifle to destroy their weak spots, rather than just one. In the end, I found the solo experience more doable, despite the potential for one-hit deaths that would force a restart.
Deal with Tormentors ASAP
We have a full guide on how to deal with Tormentors, the new enemy type in Lightfall. I found linear fusion rifles to be the best way to deal with them, first by popping shots into each of the weak spots on their shoulders (taking a pause in between shots, due to an invulnerability window) and then unloading on the new weak spot on their chests. Awareness of your surroundings is critical, as you’ll want to constantly walk or jump backwards while firing at a Tormentor–and, just as importantly, maintaining awareness of their location and any attacks that might be readying.
Tormentors can suppress you, preventing you from using abilities–including your secondary jump–or even ending a Super early, so it’s critical to know when they might be dive-bombing you, at which point you should turn around and get away. Ultimately, you’ll want to deal with Tormentors as soon as possible due to their ability to suppress you (making you less effective against other enemies) or grab you (which isn’t necessarily fatal on Legendary, but can easily kill you).
For more tips, check out our Lightfall and Season of Defiance guides, including Neomuna regional chest locations and how Defiant Keys work.
The products discussed here were independently chosen by our editors.
GameSpot may get a share of the revenue if you buy anything featured on our site.